If you want to host and playback video on your Drupal site, it’s a good option to use Amazon Simple Storage Service to store those video files. S3 is cheap, fast and scalable.
Drupal and it’s modules can be somewhat buggy, and some of the support articles aren’t exactly beginner friendly, so setting it up can be a pain. I’ve made a tutorial that should save you the hours of tinkering and Googling that I had to do.
1. Pre-installation.
I’m going to assume you have Drupal 7 already setup. I’m using VDD for my Drupal environment, version 8.x-1.0-alpha4. Note that if you’re using a local development environment, you’re going to have to ensure your router can forward incoming internet traffic to your local web server, for reasons which will become apparent later. I’ve got another post on that if you aren’t sure how to do it.
You’re also going to need a few things installed on your server. Tutorials are available for these installations elsewhere if you need them:
- Git
- Libraries module
- Drush
2. Install Zencoder
Zencoder is a cloud-based file encoding service. When you upload videos to your site, you’ll want to encode them in a uniform format before making them available for viewing. Zencoder is free to try, but prices begin at around $0.05 per minute of video converted if you don’t want a watermark on your videos.
Open a terminal window, and install the Zencoder API:
drupal7$ mkdir sites/all/libraries/zencoder
drupal7$ cd sites/all/libraries/zencoder
drupal7/sites/all/libraries/zencoder$ git clone https://github.com/zencoder/zencoder-php.git .
(drupal7 is the assumed name of the root directory of your site)
After installing the Zencoder API you may need to clear cache and run cron to get Drupal to notice this installation has taken place:
drupal7$ drush cc
drupal7$ drush cron
3. Install Drupal Video module
Next, install and enable the Drupal Video module:
drupal7$ drush en video -y
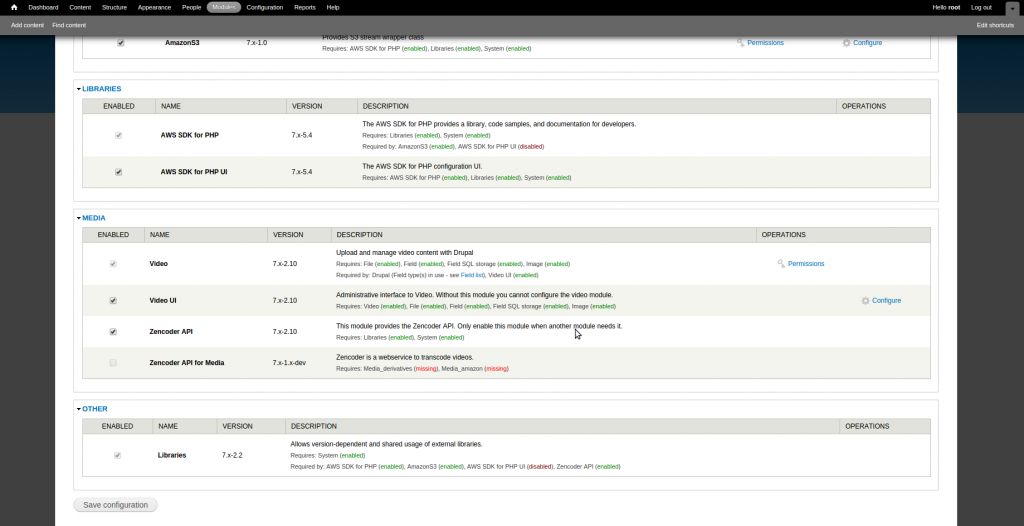
Now back over to the browser. Go to admin/modules and enable the Video UI and Zencoder as well:
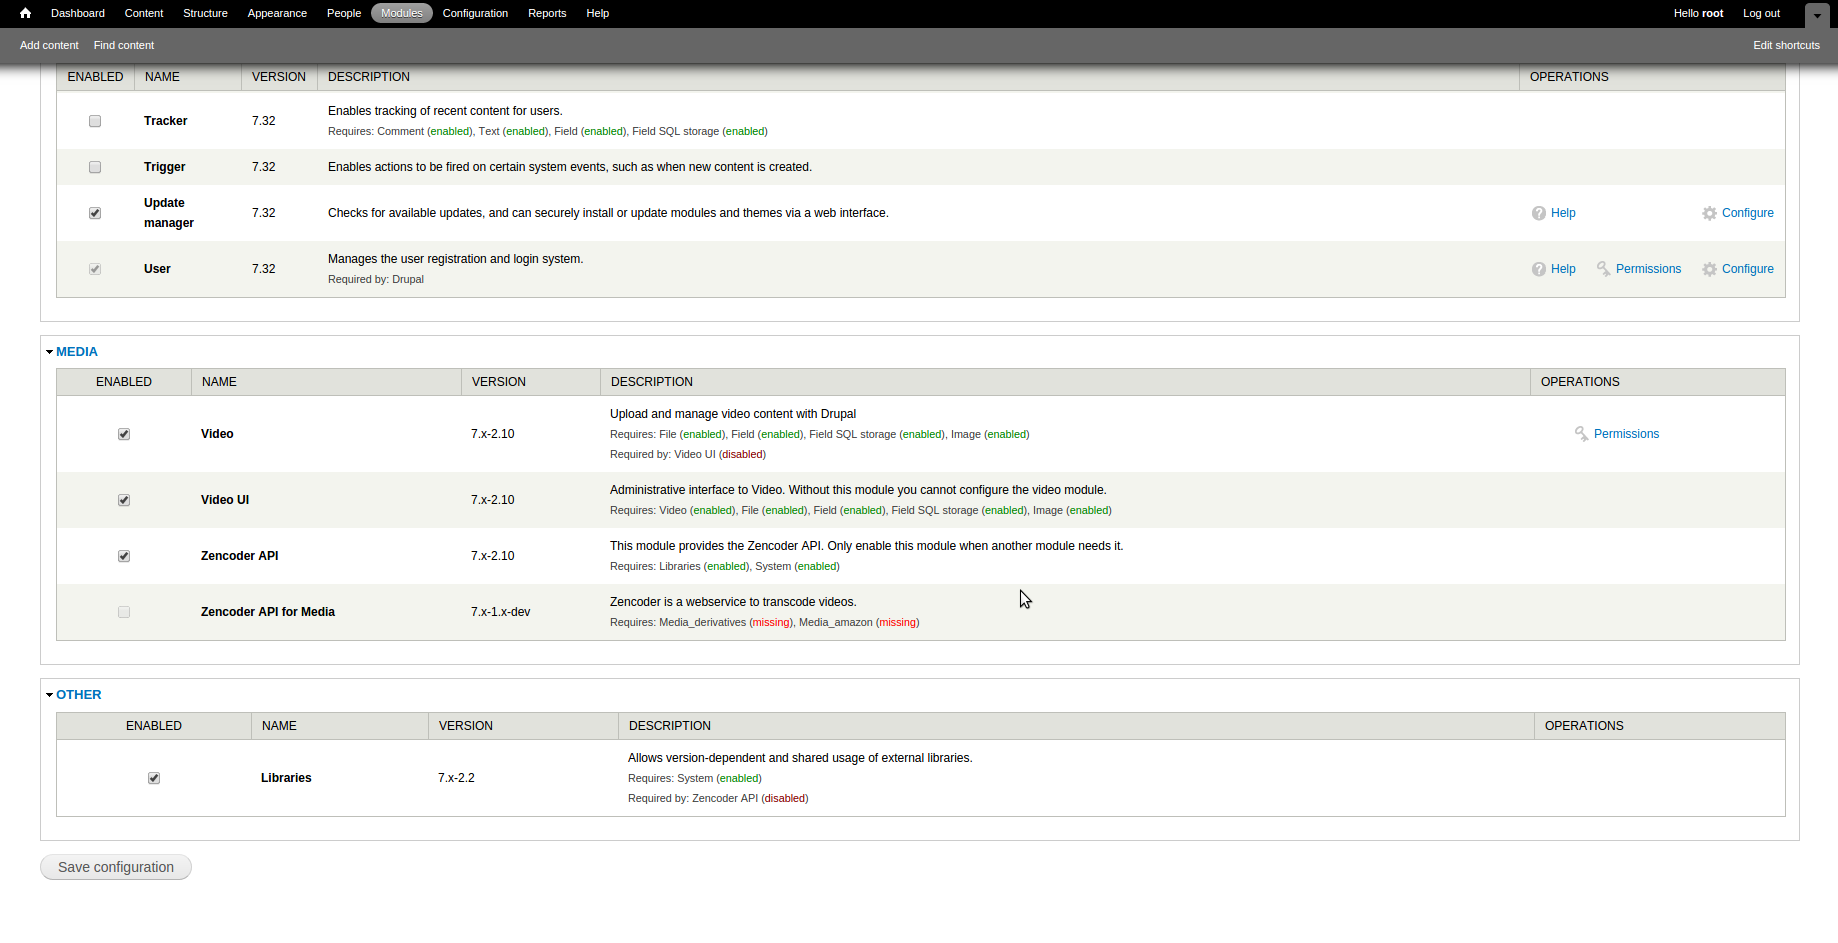
Save configuration.
Through admin/config/media/video/transcoders, enable Zencoder as the video transcoder. It’ll ask for your email address and ultimately for you to setup an account. Do so.
You’ll also need to make sure you set a valid Postback URL here. This allows the Zencoder API to report back to Drupal with the outcome of the video conversion process. If you’re developing locally, like I am, you’ll need to setup port forwarding here to be able to receive the POST. You may also need to change the video scheduler location, otherwise Zencoder may report a problem like “Couldn’t find http://default.com..”. You can use Drush for this:
drupal7$ drush video-scheduler --uri=http://yoururl.com
Now we’ll setup the Video module. Create at least one preset at admin/config/media/video/presets/add. Configure this however you like.
Now add a new content type at admin/structure/types. Call it Video or whatever you like, though I’ll be referring to it as Video throughout this article. Again, you can change all the settings on this page if you like, or leave them as default.
Go to Save and add fields.
Add a field with field type Video. I’ve called it File, but again, you can call it what you like.

Click Save.
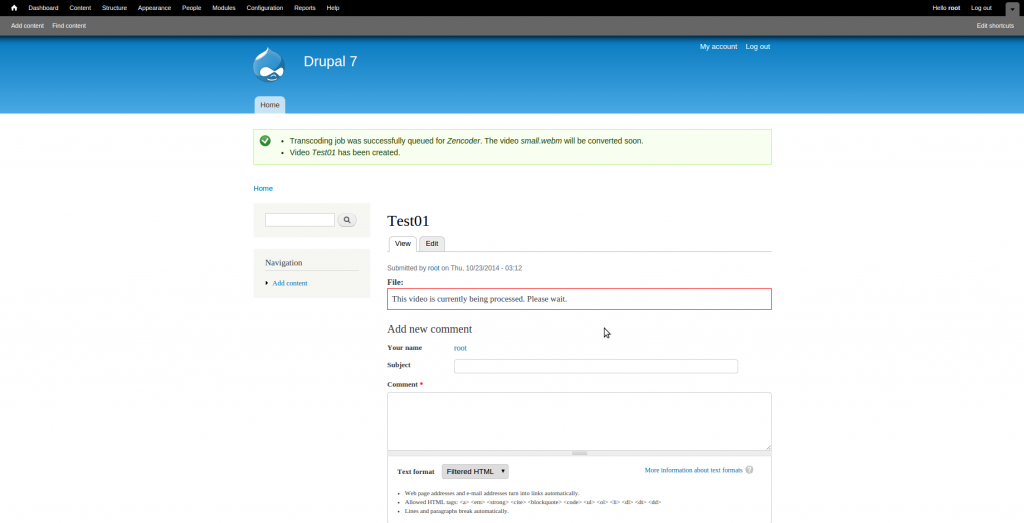
Now you’ve got video content setup on your site. If it worked, you should be able to go to Add Content > Video and create a new node with your video content. Try it out. If you need a sample video clip to test with, try this. After you’ve added the node, you should see a message at the top saying the video has been queued for conversion.
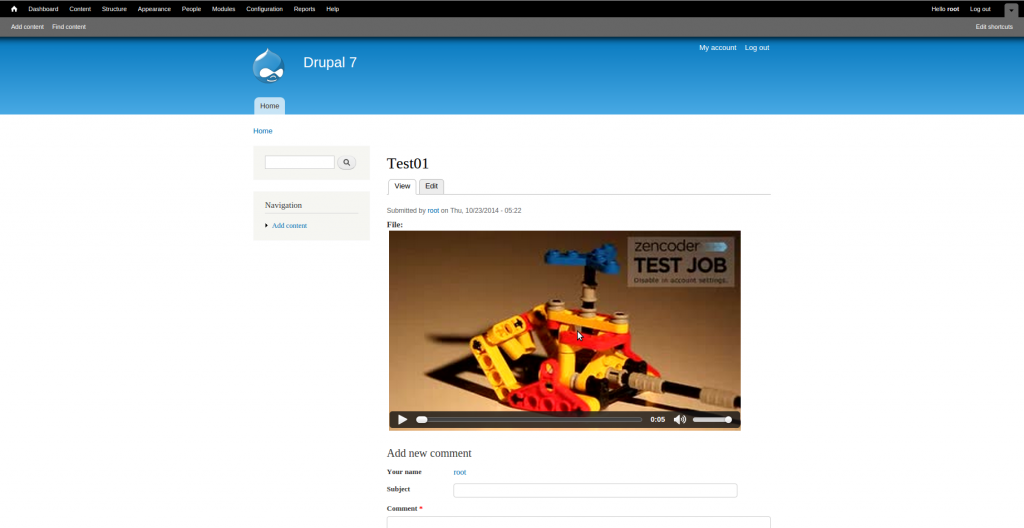
Your video will hopefully have been submitted to Zencoder, and in a few minutes, should appear on your node fully transcoded.
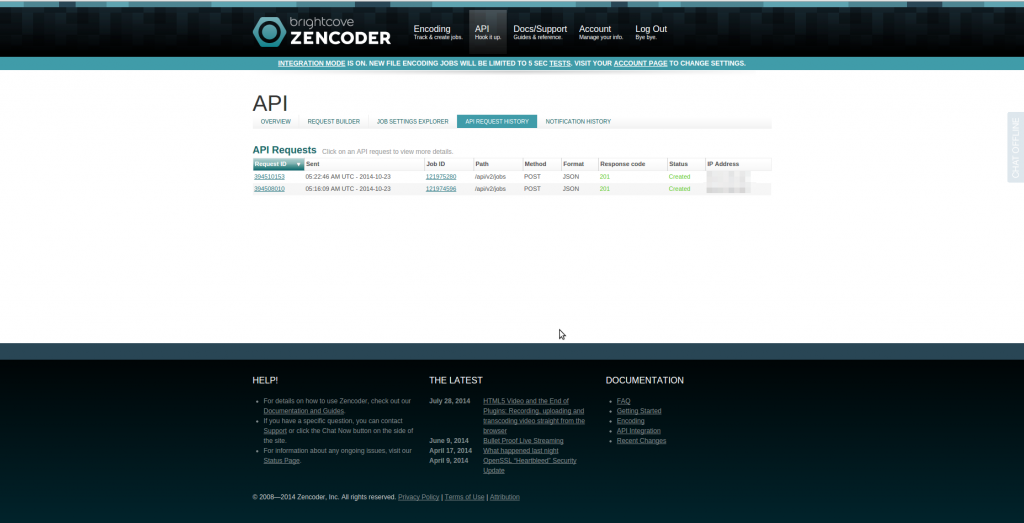
If there are any issues, you can go to your Zencoder account and see if the conversion process has worked. The API requests page is quite useful for debugging.
4. Setup an S3 bucket
So now we have video the uploading and converting to the site. If you just have a few videos and not much traffic to your site, this might be an adequate solution. But if you expect a decent amount of traffic, it’s a good idea to use file stoarge such as S3.
Let’s now setup an S3 bucket. If you haven’t already, sign up to AWS.
Firstly, we’ll need to create a user on AWS. This user will be employed by your Drupal site, to give it access the S3 bucket. We can set permissions for the user to limit what it can do, in case someone hacks your site. So go to Console > IAM > Users > Create New Users. Create a new user and be sure to make note of the Access Key ID and Secret Access Key. You’ll need these. Also, get the User’s ARN from the Summary, once the user is created.
Now let’s create a bucket to store the video files. Go to Console > S3 and setup a new bucket. Call it whatever you like, I called mine drupal-video.
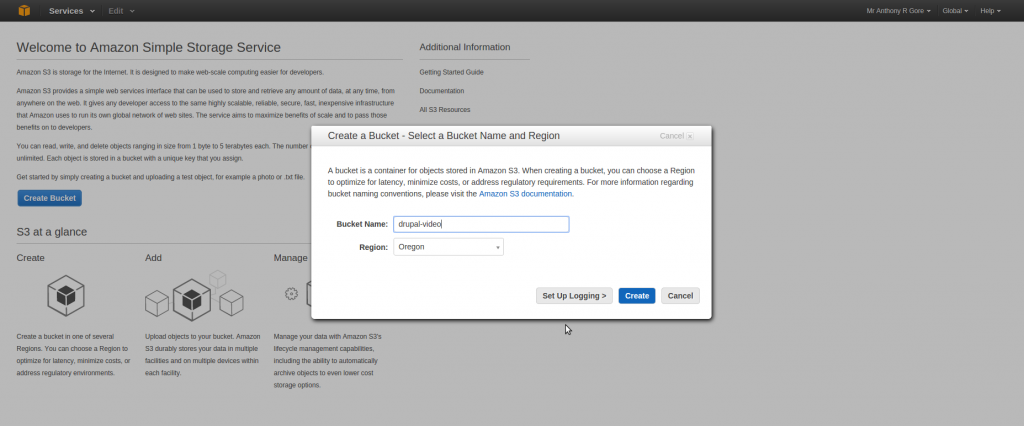
Select the new bucket, then go to Permissions > Edit bucket policy. Here we will set the permissions for to this bucket. You need to give permissions to both your user you just created, and to Zencoder, as both will need to read and write to the bucket. The below policy is a modified version of the sample policy provided by Zencoder. Replace anything in < > with the information specific to your account.
[
   {
      "Version": "2008-10-17",
      "Id": "ZencoderBucketPolicy",
      "Statement": [
         {
            "Sid": "Stmt1295042087538",
            "Effect": "Allow",
            "Principal": {
               "AWS": [
                  "arn:aws:iam::395540211253:root",
                  "<your-user-ARN>"
               ]
            },
            "Action": [
               "s3:GetObjectAcl",
               "s3:GetObject",
               "s3:PutObjectAcl",
               "s3:ListMultipartUploadParts",
               "s3:PutObject"
            ],
            "Resource": "arn:aws:s3:::<your-s3-bucket>/*"
         },
         {
            "Sid": "Stmt1295042087538",
            "Effect": "Allow",
            "Principal": {
               "AWS": [
                  "arn:aws:iam::395540211253:root",
                  "<your-user-ARN>"
               ]
            },
            "Action": [
               "s3:ListBucketMultipartUploads",
               "s3:GetBucketLocation"
            ],
            "Resource": "arn:aws:s3:::<your-s3-bucket>"
         }
      ]
   }
]
Your bucket is now setup. You’ll now need to set a policy for the user you created as well, which defines the permissions this user has. We didn’t set this before because we hadn’t yet created a bucket. So go back to Console > Users, select the user you created, and go to Policies > Attach Policy. Here’s a sample policy, you’ll need to replace
{
   "Statement": [
      {
         "Sid": "DrupalVideoUserPolicy",
         "Action": "s3:*",
         "Effect": "Allow",
         "Resource": "arn:aws:s3:::<bucket>"
      }
   ]
}
5. Setup AmazonS3 module in Drupal
Now we’ve setup AWS sufficiently. Return the terminal and let’s install the AmazonS3 module for Drupal with Drush:
drupal7$ drush en amazons3 -y
Now install the AWS SDK for PHP into the Libraries directory:
drupal7$ cd sites/all/libraries
drupal7/sites/all/libraries$ mkdir awssdk
drupal7/sites/all/libraries$ cd awssdk
drupal7/sites/all/libraries/awssdk$ git clone https://github.com/amazonwebservices/aws-sdk-for-php.git .
Now clear cache for changes to be noticed in Drupal
drupal7$ drush cc
Returning to the browser, go to admin/modules and activate AWS SDK for PHP UI.
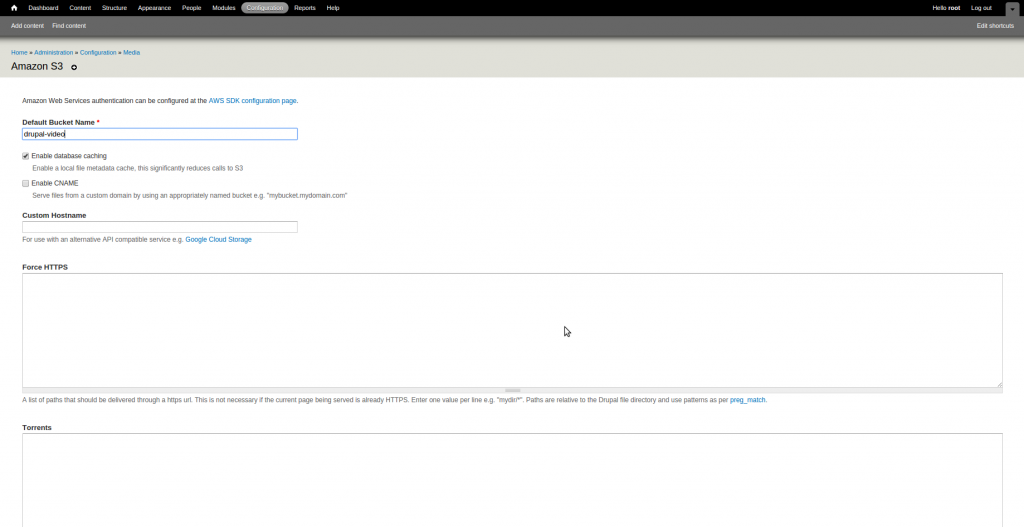
Now go to admin/config/media/amazons3 and enter your bucket name
Save changes, and go to admin/config/media/awssdk. This is where you will put in your AWS user info, so Drupal can access your bucket. Enter your Key ID and your Secret Key, and Save Configuration.
6. Finishing up (almost)
Now Drupal has a connection to your S3 bucket. We have to tell it now to store video files in the bucket we’ve setup, and we’ll be (almost) done.
Go to admin/structure/types to edit your Video content type. Click manage fields. Find the field you added previously, I called mine File. Under Operations, click edit.
Now scroll down to the field settings. You should be able to change the destinations of the uploaded files to Amazon S3. Do so, and save changes.
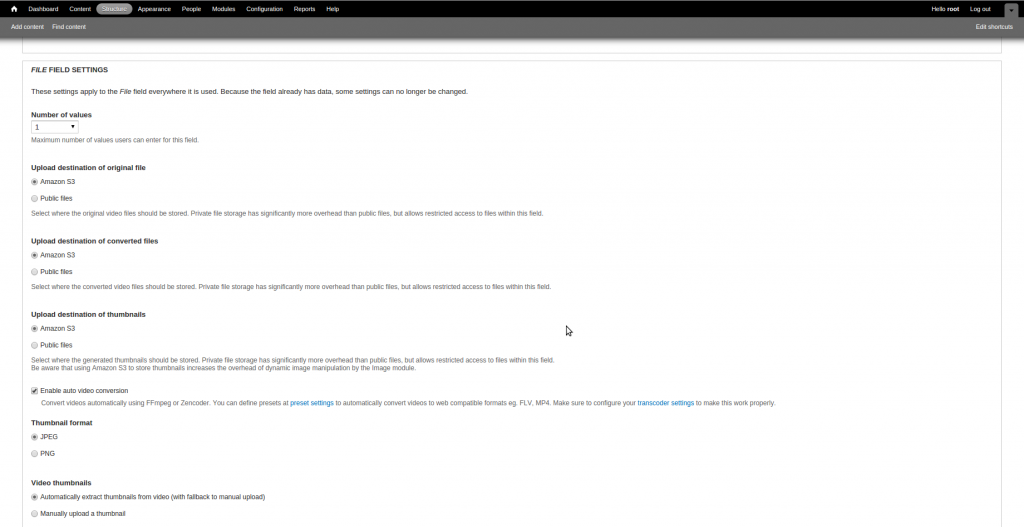
7. Fix bug #1:
This, theoretically, is all you need to do. But if you go ahead and try and add content, you’ll likely get this error from Zencoder: “Input media file url of input file is not well formed. Please confirm that it is a valid URL.”
If you don’t get this error, great, but if you do, it’s because of a bug in the current release of the AmazonS3 module, as documented here.
I’ve created a patch for it which you can easily apply to the S3 module. I should note, though, at the time of writing, this patch has not been verified, so use it at your own risk.
Return to the terminal and cd into your amazons3 module directory:
drupal7$ cd sites/all/modules/amazonS3
drupal7/sites/all/modules/amazons3$ wget https://www.drupal.org/files/issues/amazons3-malformed-url-2207865-0.patch
drupal7/sites/all/modules/amazons3$ patch < amazons3-malformed-url-2207865-0.patch
drupal7/sites/all/modules/amazons3$ drush cc
Now try add a video node. Go to your bucket and see if the video uploaded/converted:
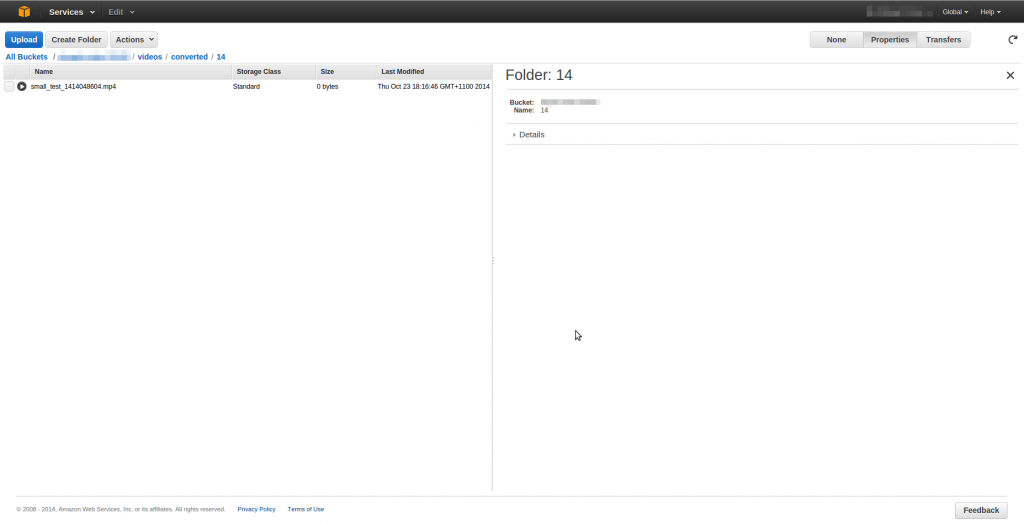
8. Fix bug #2:
As if that weren’t enough, there’s a bug in the current version of the video module which shows up when using AmazonS3. It’s detailed here.
You may be subject to this bug if all the following apply after you attempt to add a video node:
- Zencoder returns a positive response,
- You can see the video and thumbnails converted in S3
- You get this error “The video conversion process has failed. You might want to submit a simpler video format like mpeg or divx avi.”
You can patch it as follows:
drupal7$ cd sites/all/modules/video
drupal7/sites/all/modules/video$ wget https://www.drupal.org/files/issues/conversion-failed-1991534-49.patch
drupal7/sites/all/modules/video$ patch < conversion-failed-1991534-49.patch
drupal7/sites/all/modules/video$ drush cc
9. Actually finished
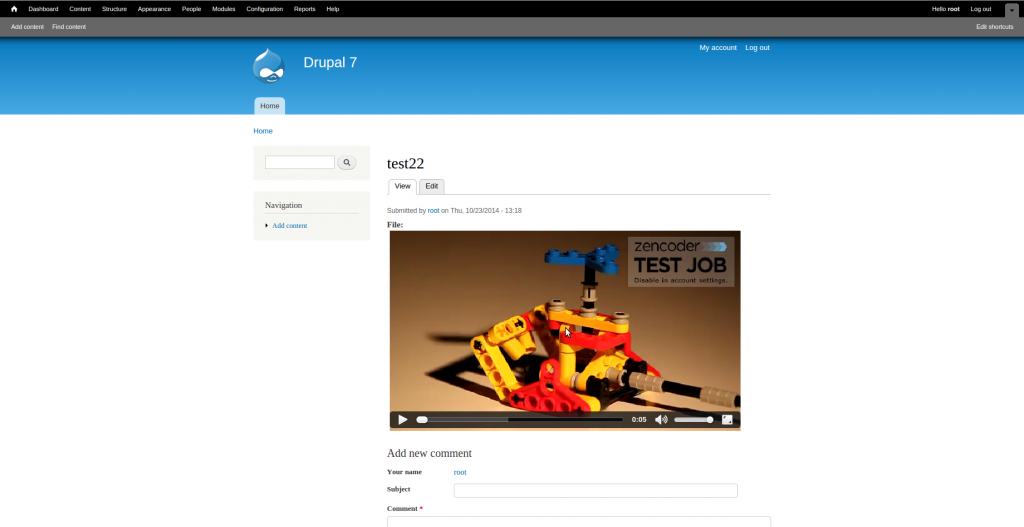
As you’ll see in the screen shot below, it took me 22 attempts to get the process working correctly. But despite the required patience, it’s a quite a solid solution for hosting video.
